The Best Times to Shoot: Timing Your Travel Photography
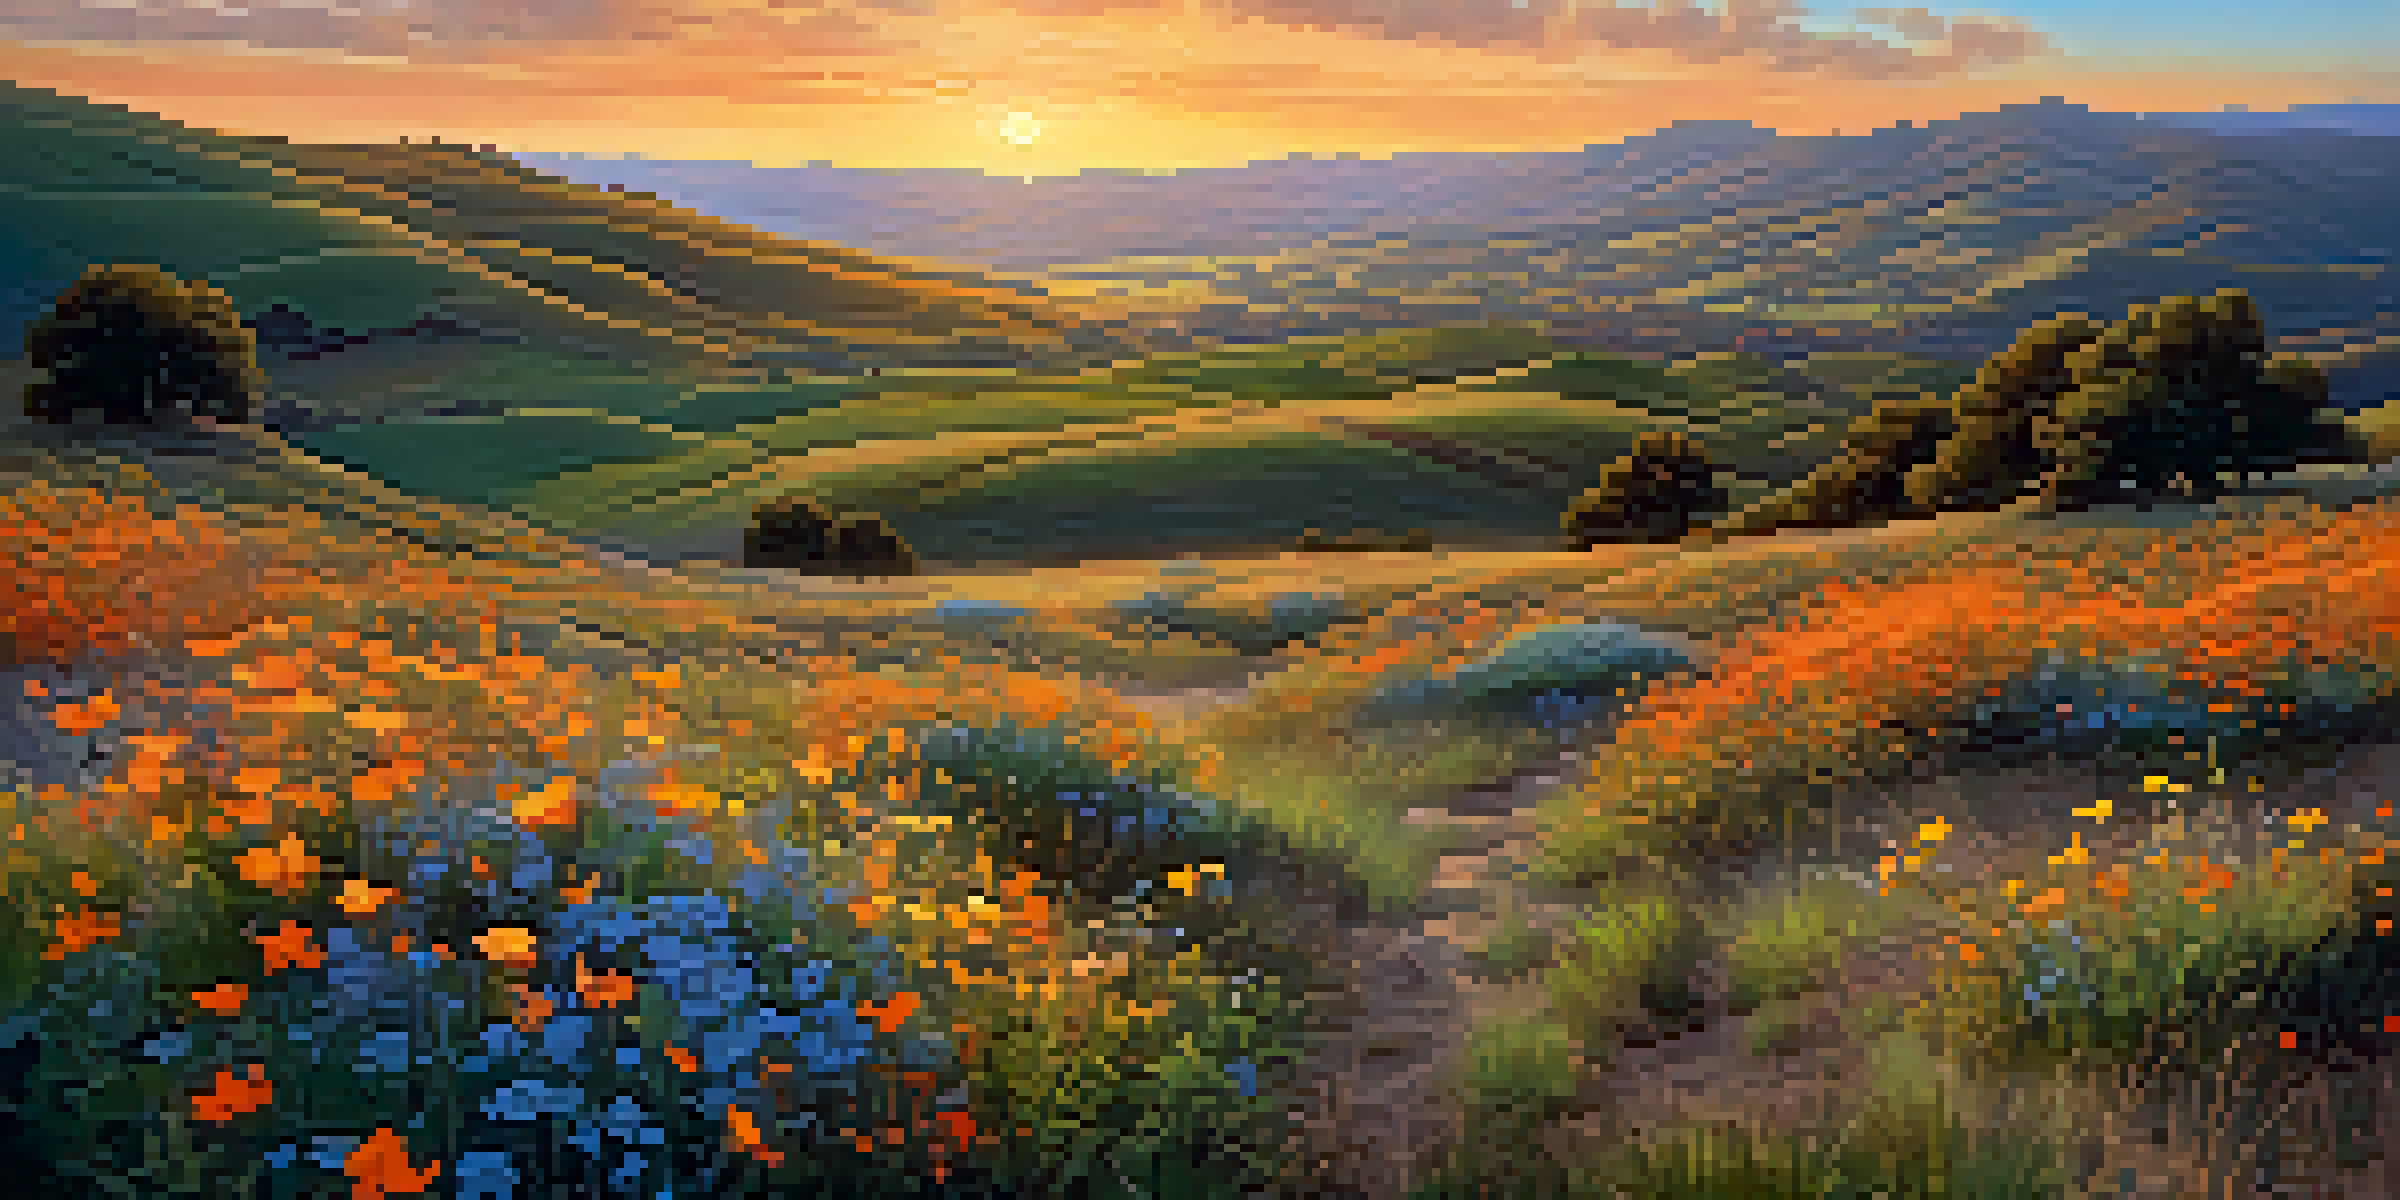
Understanding the Golden Hour for Stunning Shots
The golden hour, occurring just after sunrise and before sunset, is a photographer's dream. During this time, the sunlight is soft and warm, creating a beautiful glow that enhances landscapes, portraits, and cityscapes alike. It’s like nature’s filter, offering a magical quality that can transform your images.
Photography is the story I fail to put into words.
To make the most of the golden hour, plan your shoots accordingly. Set alarms to wake up early or scout locations in advance to ensure you’re ready when the light is just right. Remember, this magical time lasts only about an hour, so every minute counts!
Related Resource
Don’t forget that the golden hour varies by season and location. In summer, it might be earlier, while in winter, you may need to wait a bit longer. Always check local sunrise and sunset times to optimize your shooting schedule.
Exploring the Blue Hour: A Photographer's Secret
The blue hour, which occurs just before sunrise and after sunset, has its own charm that can add a unique touch to your travel photography. During this period, the sky takes on deep blues and purples, providing a stunning backdrop for urban landscapes and waterfront shots. It's like stepping into a painting!
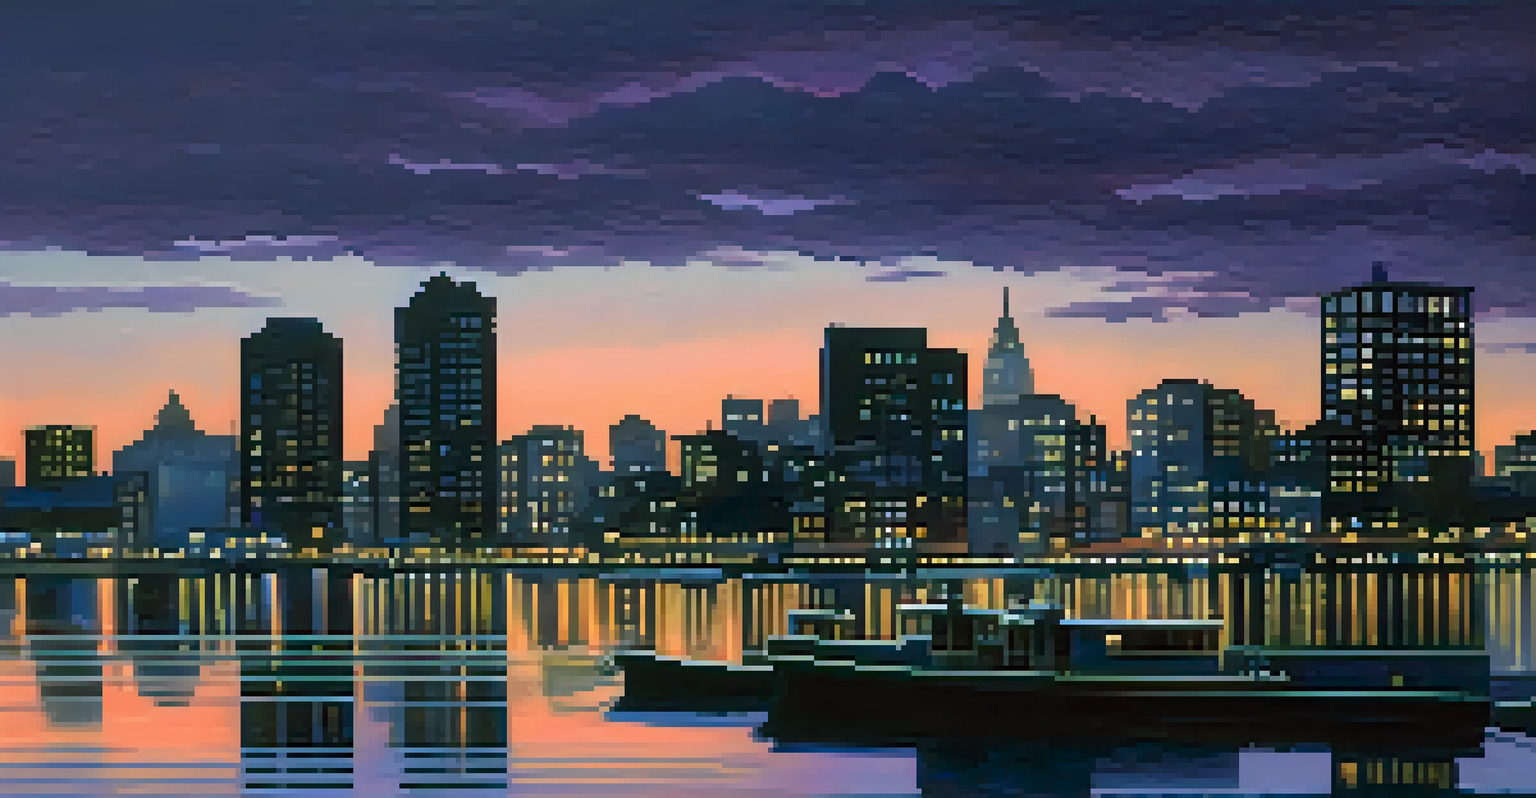
This time is perfect for capturing city lights as they begin to twinkle against the darkening sky. Buildings reflect the cool tones of the sky, creating a striking contrast with warm interior lights. Use this to your advantage to create visually compelling images that stand out.
Mastering Golden and Blue Hours
Understanding the golden and blue hours is essential for capturing stunning travel photographs with enchanting light.
Just like the golden hour, the blue hour is fleeting, lasting about 20 to 30 minutes. So, have your camera ready and know the best spots to shoot ahead of time. Planning is key for capturing the magic of this enchanting time.
Midday Light: Challenges and Creative Solutions
Shooting during midday can be challenging due to harsh lighting and unflattering shadows. The sun is directly overhead, resulting in bright highlights and deep shadows that can wash out your images. However, with the right techniques, you can still capture stunning shots even during these hours.
The best camera is the one you have with you.
One effective strategy is to look for shade or use natural elements, like trees or buildings, to block the harsh sunlight. This can create soft, diffused light that enhances your subjects. Additionally, consider using reflectors or diffusers to manage the light effectively.
Related Resource
Another option is to embrace the harsh light creatively. High-contrast images can tell compelling stories, and experimenting with silhouettes can yield striking results. Sometimes, the unexpected can lead to the most unique photographs!
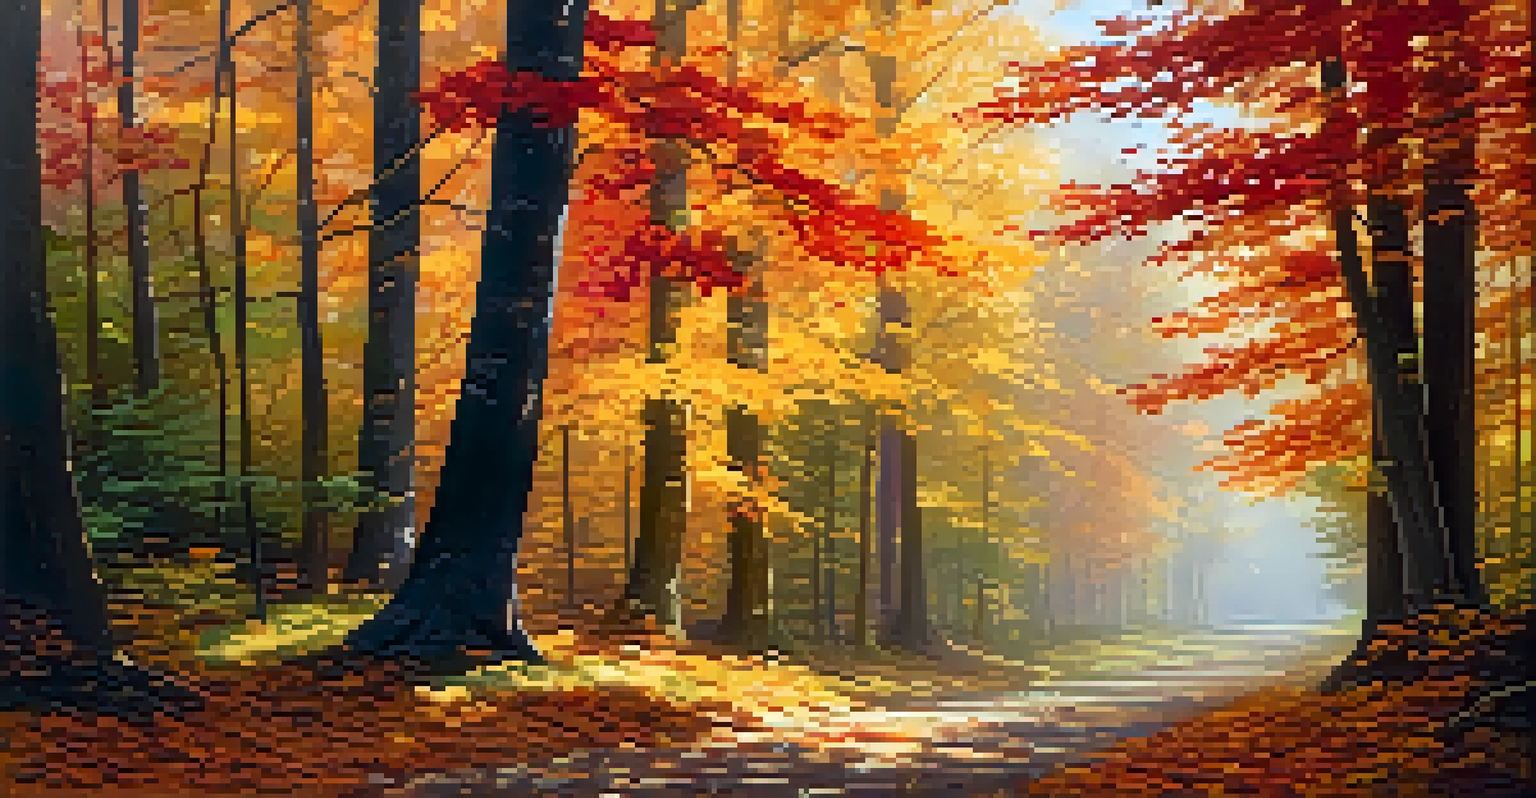
Seasonal Considerations: Timing Your Travel Photography
Different seasons can dramatically affect the quality and type of light available for photography. For instance, autumn brings rich, warm tones, while spring offers vibrant blooms that can add life to your images. Understanding these seasonal changes can help you choose the best times for your shoots.
Weather also plays a critical role in determining the best times to shoot. Overcast days can provide even, diffused light that’s perfect for capturing details without harsh shadows. Don’t shy away from cloudy weather; it can lead to some of the most striking photographs.
Adapting to Midday Lighting
Shooting during midday can be challenging, but creative techniques can help you capture striking images even in harsh light.
Finally, consider the local climate and tourist seasons. Popular destinations may be overcrowded during peak seasons, making it difficult to capture your desired shots. Visiting during shoulder seasons can provide both better light and fewer crowds, allowing for a more intimate photography experience.
Capturing the Magic of Sunrise and Sunset
Sunrise and sunset are often considered the holy grails of travel photography. The dramatic colors and light changes create breathtaking scenes that can elevate any photo. There’s something inherently magical about witnessing the day come to life or bidding it farewell.
To capture the best of these times, arrive early and scout your location. This gives you the opportunity to find the perfect angle and composition before the light changes. The moments just before and after the sun rises or sets can also yield stunning results, so don’t pack up too early!
Related Resource
Additionally, consider the weather conditions. A few clouds can enhance your sunrise or sunset shots, creating vibrant colors and textures in the sky. A little bit of planning can ensure you’re in the right place at the right time to capture these awe-inspiring moments.
Finding the Best Locations for Optimal Lighting
Location plays a crucial role in travel photography, especially when it comes to lighting. Scenic viewpoints, iconic landmarks, and unique natural formations can all offer stunning backdrops, but their accessibility to light varies throughout the day. Researching your location ahead of time can pay off tremendously.
Consider using mapping apps or photography websites to find popular spots and understand how the light interacts with them at different times. Some locations might be better suited for early morning shots, while others shine during the golden hour or blue hour. Knowing this can help you maximize your shooting opportunities.
Seasonal Light Matters
Different seasons and weather conditions significantly influence the quality of light, affecting your photography opportunities.
Don’t hesitate to explore off-the-beaten-path locations as well. Sometimes, lesser-known spots can provide equally stunning views with fewer distractions. Trust your instincts, and be willing to wander; you may stumble upon hidden gems that lead to extraordinary photographs.
Editing Techniques to Enhance Travel Photography
Editing is an essential part of the travel photography process, allowing you to enhance your images and bring out the best in your shots. Simple adjustments like exposure, contrast, and color correction can make a significant difference, transforming a good photo into a great one. Think of editing as polishing a diamond—it reveals the beauty that was always there.
Consider using editing software or apps that suit your needs and skill level. While some may prefer advanced options like Adobe Lightroom, others might find user-friendly apps like Snapseed more accessible. The key is to find tools that help you express your vision without overwhelming you.
Additionally, don’t over-edit your photos. The goal is to enhance the natural beauty of your images, not to create something entirely artificial. Keep your edits subtle and aim to maintain the original essence of the moment you captured.